Getting started with Incident Back Office
This page walks an administrator through setting up Incident Back Office for a department, and then through running a first incident from activation to the first desk check. Each step links to the page that covers it in depth.
The screenshots on these pages come from a fictional demo incident, the Cedar Ridge Fire. Every person, agency, vendor and amount in them is made up.
Set up your department
Incident Back Office is rolled out department by department, on top of the add-on, the module switches and permissions. The Incident Back Office rollout opens the module, Incident Business the finance desks, and Incident Coordination the boards and the situation desk. On the hosted service ask Resgrid to switch on the ones you need; on a self-hosted installation the operator turns them on with the feature flag console. Without the rollout, buying the add-on and leaving the switches on is not enough.
1. Add the add-on
The department's managing member adds Incident Back Office from Subscription → Incident Back Office. Until the department has the add-on, the Incident Back Office entry in the sidebar opens the same add-on page, with the price, what is included and a Buy button. Incident Back Office is billed monthly per department (USD 250 in the US, EUR 350 in the EU), even if your main subscription is annual.
2. Check the module switches
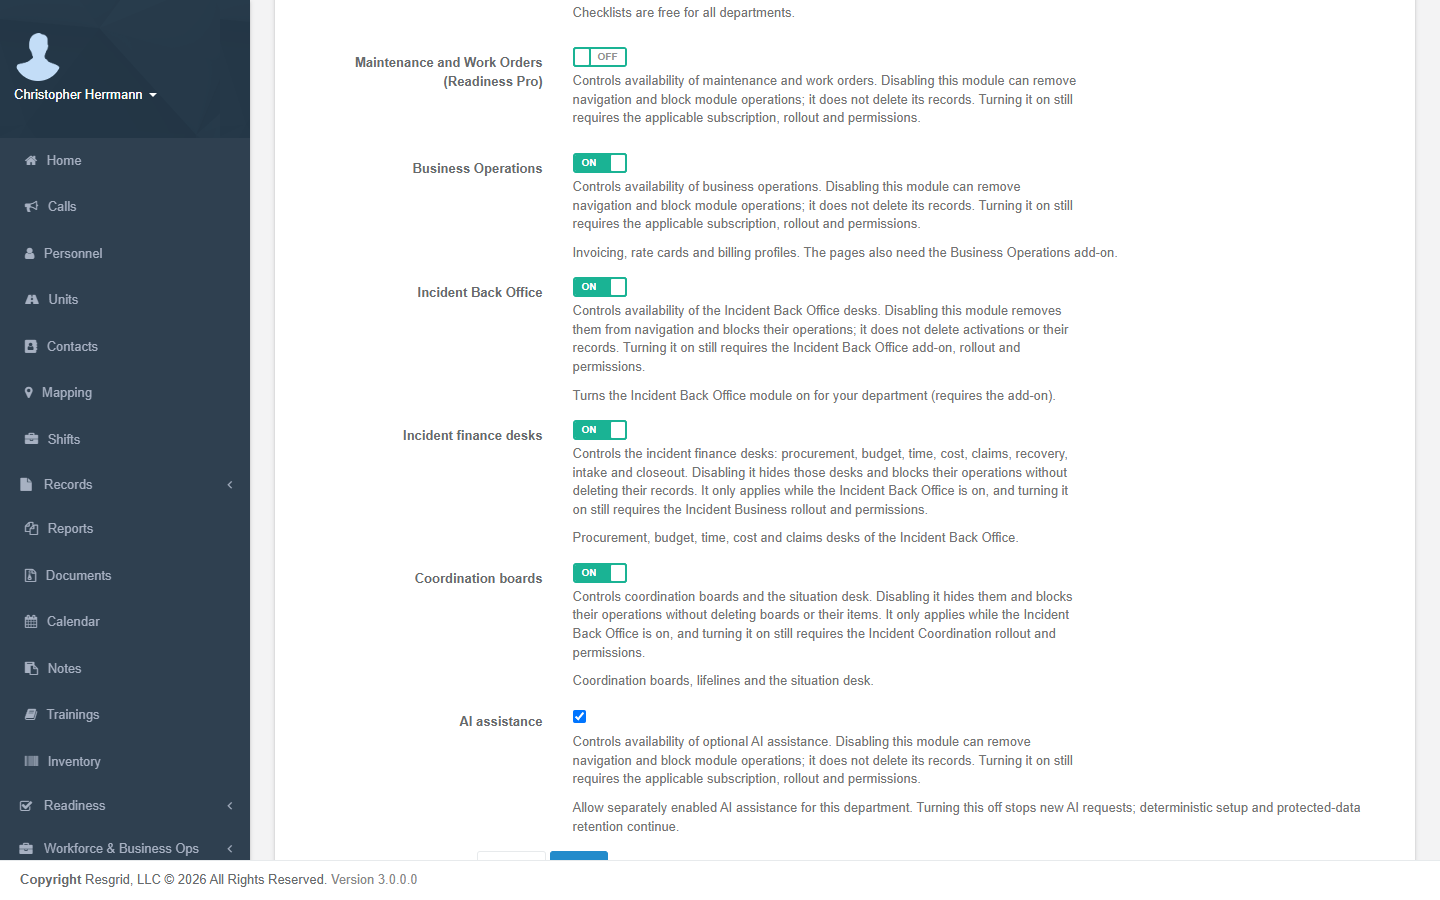
Go to Department → Module Settings and find the three Incident Back Office switches:
- Incident Back Office: the whole module.
- Incident finance desks: procurement, budget, time, cost, recovery, intake and claims.
- Coordination boards: boards and the situation desk.
All three are on by default. Turning one off hides its pages and stops its background work for your department; nothing is deleted.
3. Give people permissions
Under Department → Security, Incident Back Office has its own group of permissions. Each one starts from a sensible default (everyone, group and department administrators, or department administrators only), which you can change:
| Area | Permissions |
|---|---|
| Command and planning | View Incident Back Office (everyone), Manage incident activation, Manage incident periods, Manage incident positions, Manage incident participants, Assemble incident IAP |
| Logistics | Create, Approve, Order and Receive incident request; Manage incident facilities, lodging, feeding, services, ground support and comms; Manage vendor catalog, Engage vendor |
| Finance | Manage incident procurement, Commit incident purchase, Accept vendor invoice, Manage incident budget, Authorize incident funding, Enter, Certify and Approve incident time, View and Manage incident cost, Manage incident claims |
| Coordination | View coordination boards (everyone), Manage coordination boards, Share coordination boards |
| Protected details | View participant sensitive data, View lodging assignment detail, View vendor protected data, View claim protected data |
The finance steps are separate permissions on purpose. Resgrid also refuses to let one person take two steps of the same purchase or time record (see Separation of duties), so give the requesting, approving, committing and certifying permissions to different people. A small department can turn on single-person operation in Settings.
4. Review the department settings
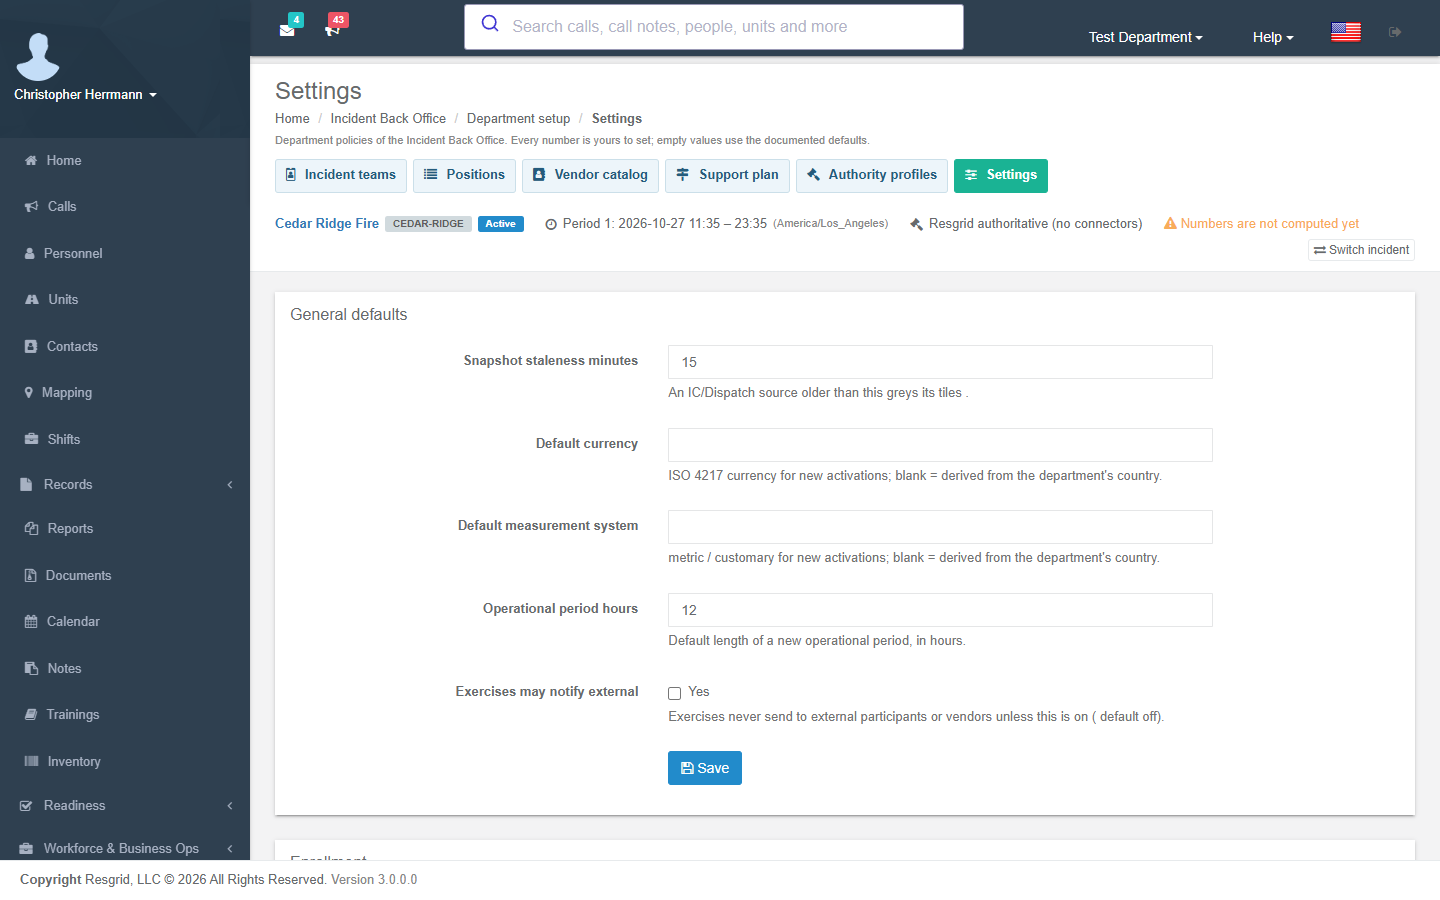
Incident Back Office → Department setup → Settings (administrators) holds the policies the module uses: staleness, the default currency and period length, enrollment mode, who receives each notice, forecast coefficients and thresholds, assignment length and work/rest rules, vendor hold expiry, finance controls and retention. Each policy saves on its own, and an empty value uses the default. See Settings for every value and its default.
5. Build your position catalog
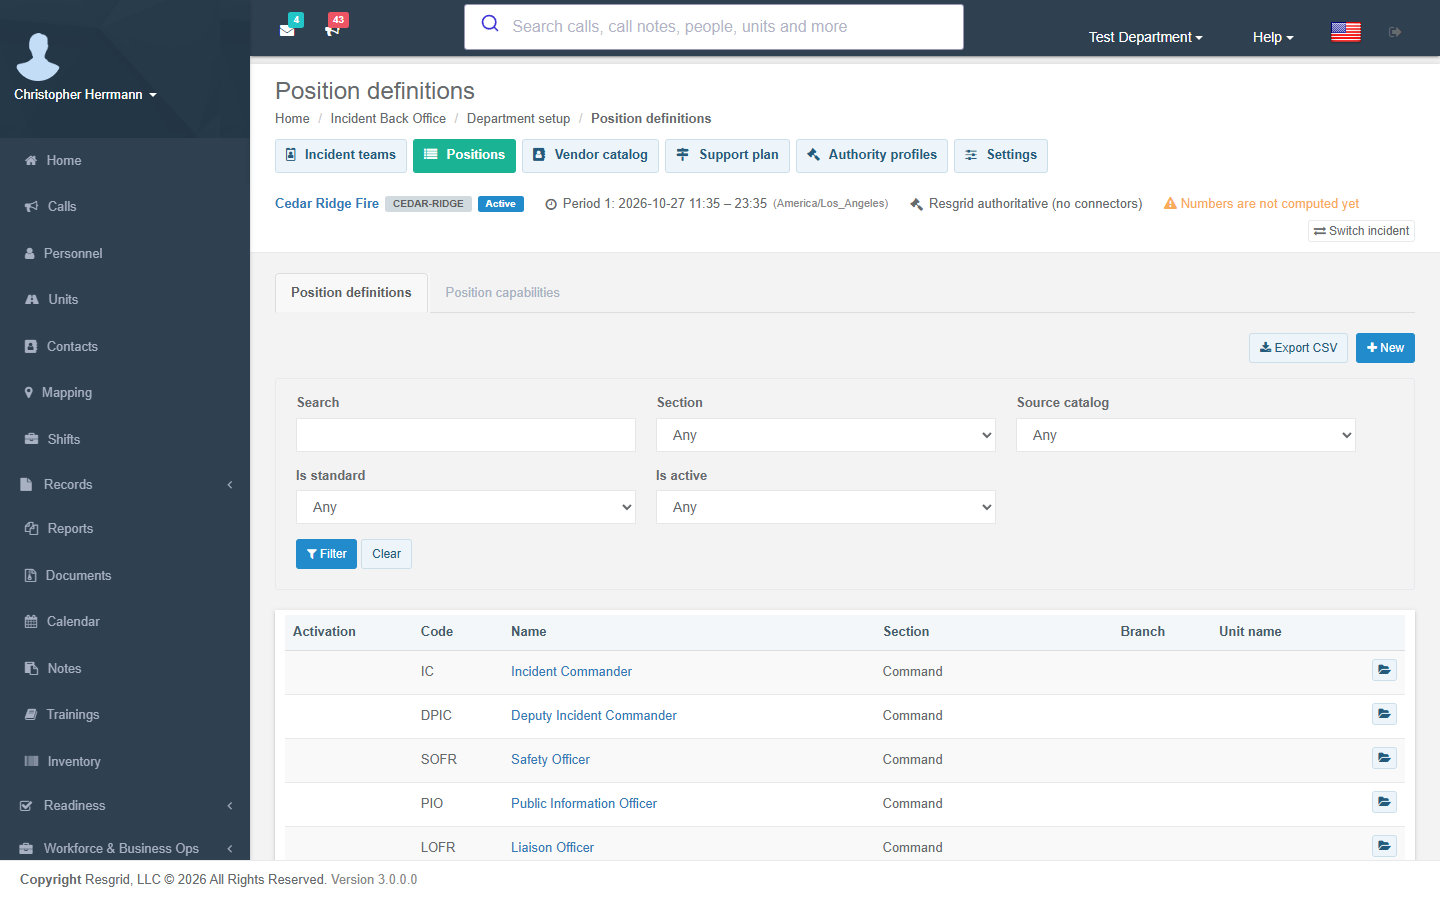
Department setup → Positions holds the positions incidents are staffed from. Use Add NIMS core, Add NWCG wildland or Add CICCS positions to add the standard catalogs; each adds only the positions you do not have yet and never changes yours. Add your own roles (for example Radio Technician) with New, and list the qualifications a position needs so assignments can be checked against them.
6. Set up standing teams (optional)
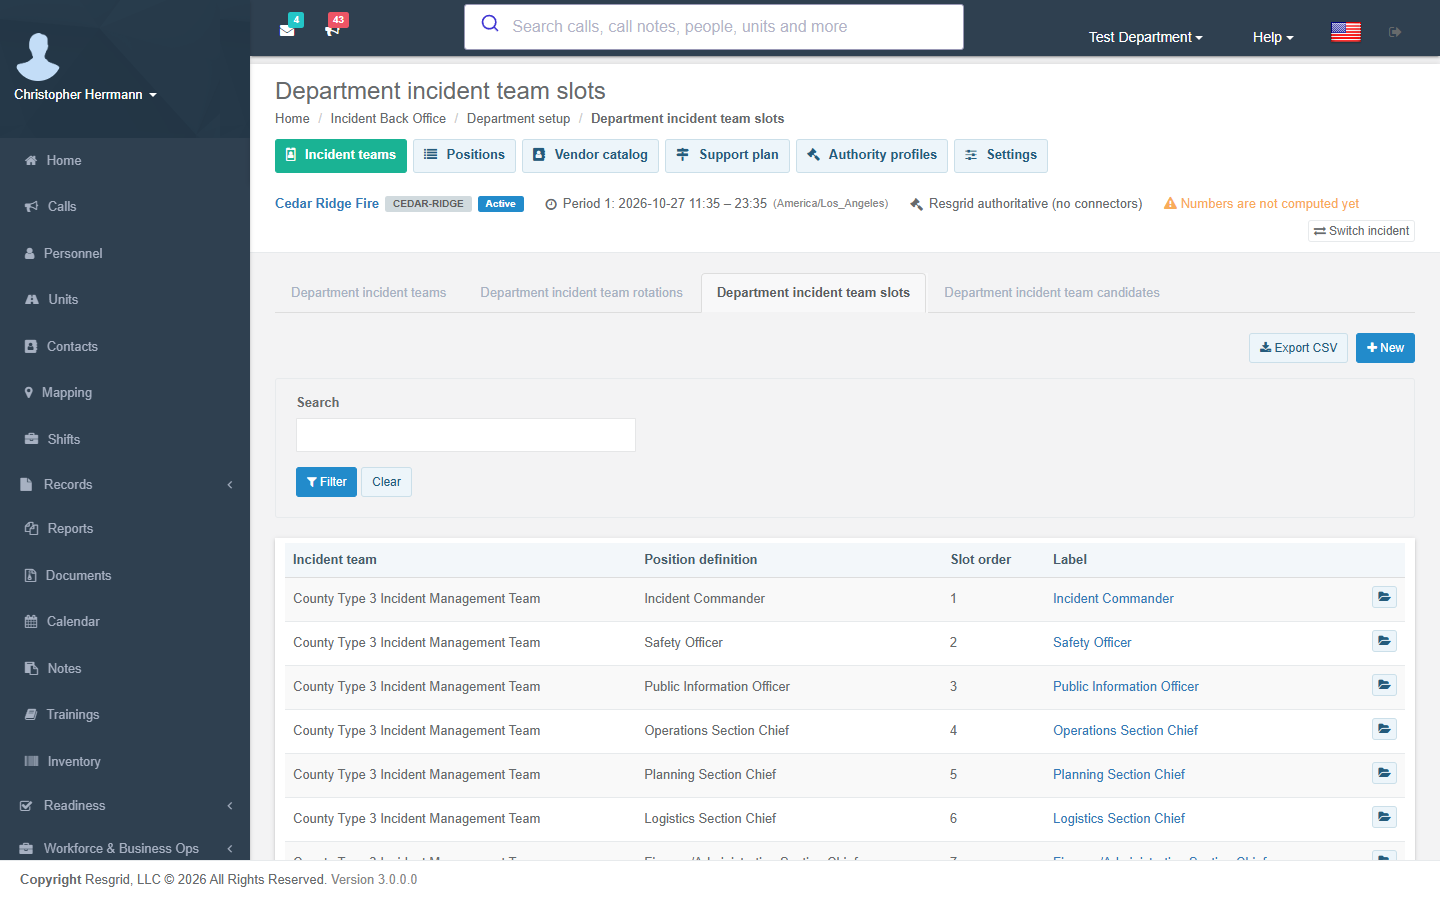
If you keep standing teams, such as a county incident management team or an EOC section roster, add them under Department setup → Incident teams: the team, its rotations, a slot for each position and the candidates (primary, alternate and trainee) for each slot. Team readiness shows, for a window you choose, whether every slot has a qualified candidate, and Propose activation fills an incident's organization from the team in one step.
7. Add vendors and a support plan (optional)
Department setup → Vendor catalog extends the vendors you already keep in Inventory with locations, capabilities and capacity, availability windows and compliance documents. Department setup → Support plan ranks vendors by area. Both are covered in Logistics.
Run your first incident
1. Open the incident
Go to Incident Back Office → Command → Incidents → Open an incident. Pick the kind (incident, complex, planned event or EOC activation), give it a name and a short code, and optionally link the dispatch call. Check the time zone, currency and measurement system: every time on the incident's desks shows in its own time zone. Leave Start active and Create the first operational period now ticked to start working straight away. Tick Exercise for a drill.
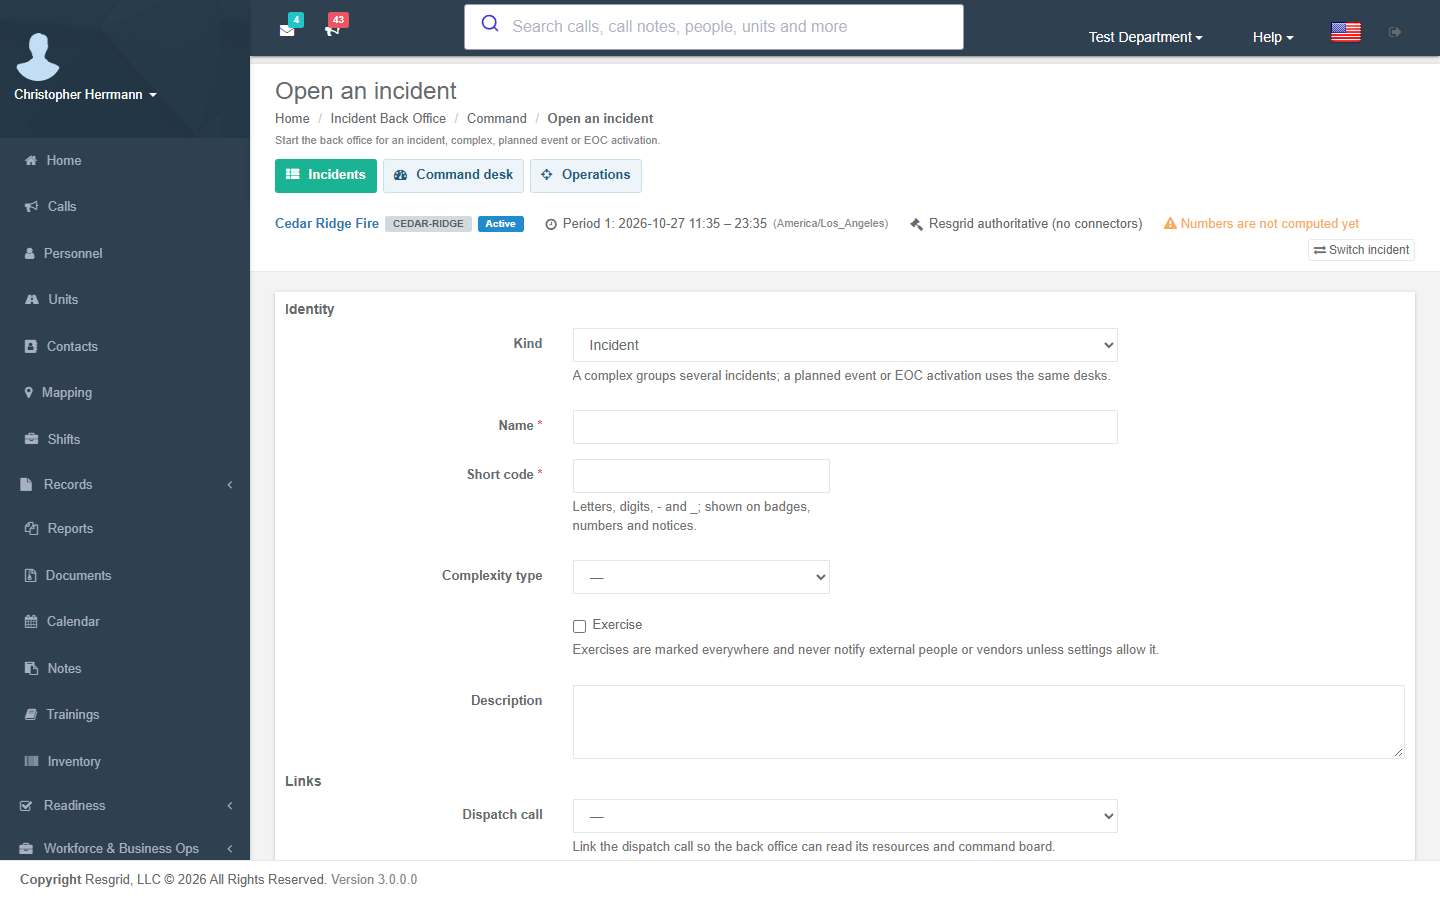
2. Select it
The Incidents page lists open incidents (tick Include closed for the rest). The incident you open stays selected on every desk until you switch, and the context bar at the top of every page shows its name, short code, status, current operational period, authority profile and how fresh its numbers are.
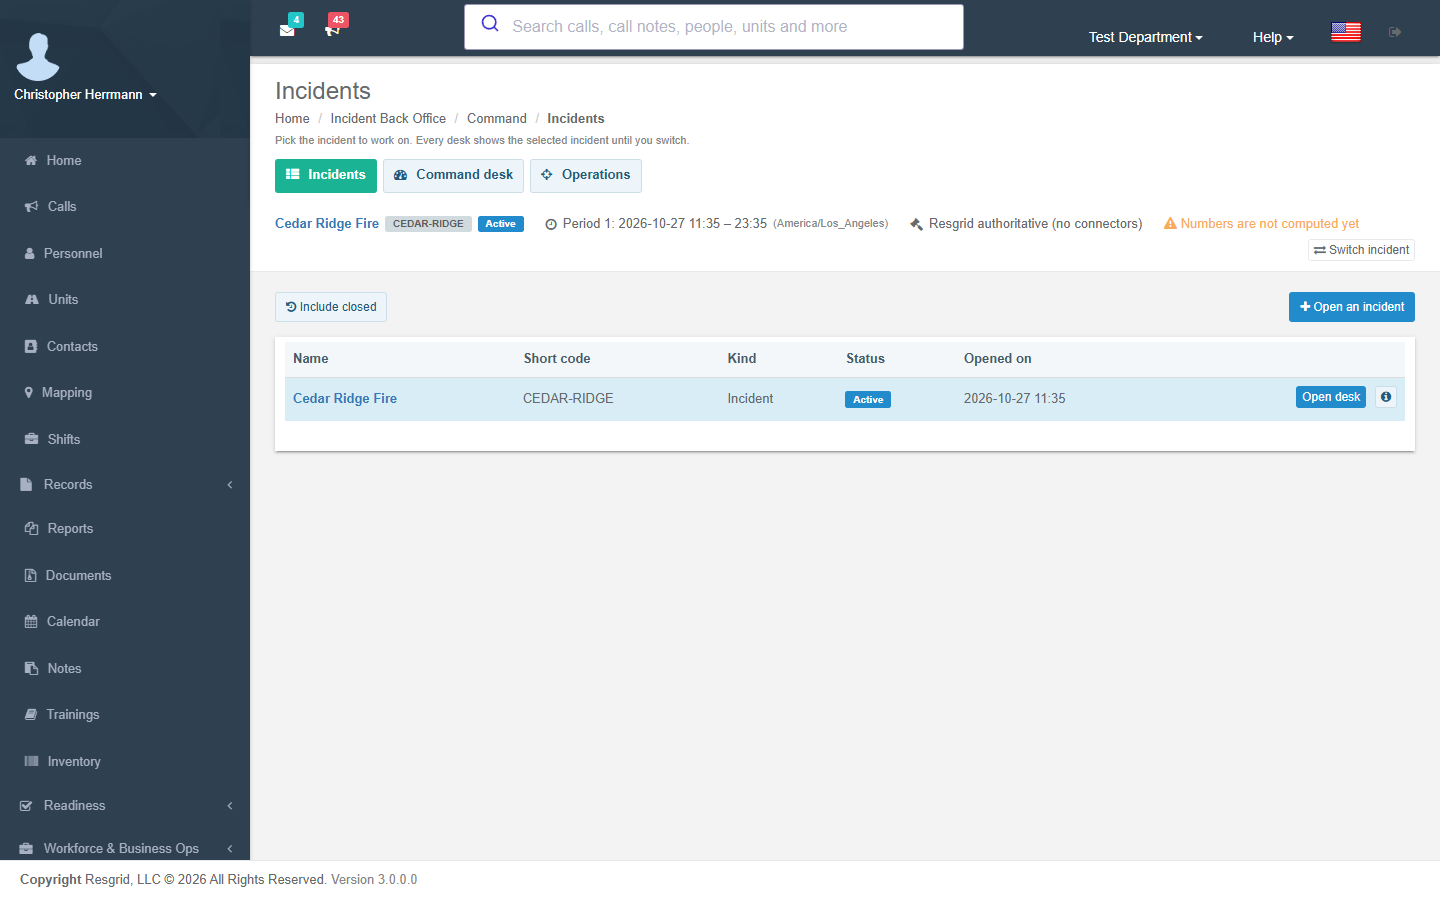
3. Staff the organization
On Planning → Organization, Assign a position for each role. Pick the position, then the person: a member, a participant, or a placeholder name to fill in later. Resgrid checks the person's qualifications against the position, reports overlapping assignments, and notifies the person in their own language. With a standing team, use Propose activation on the team instead.
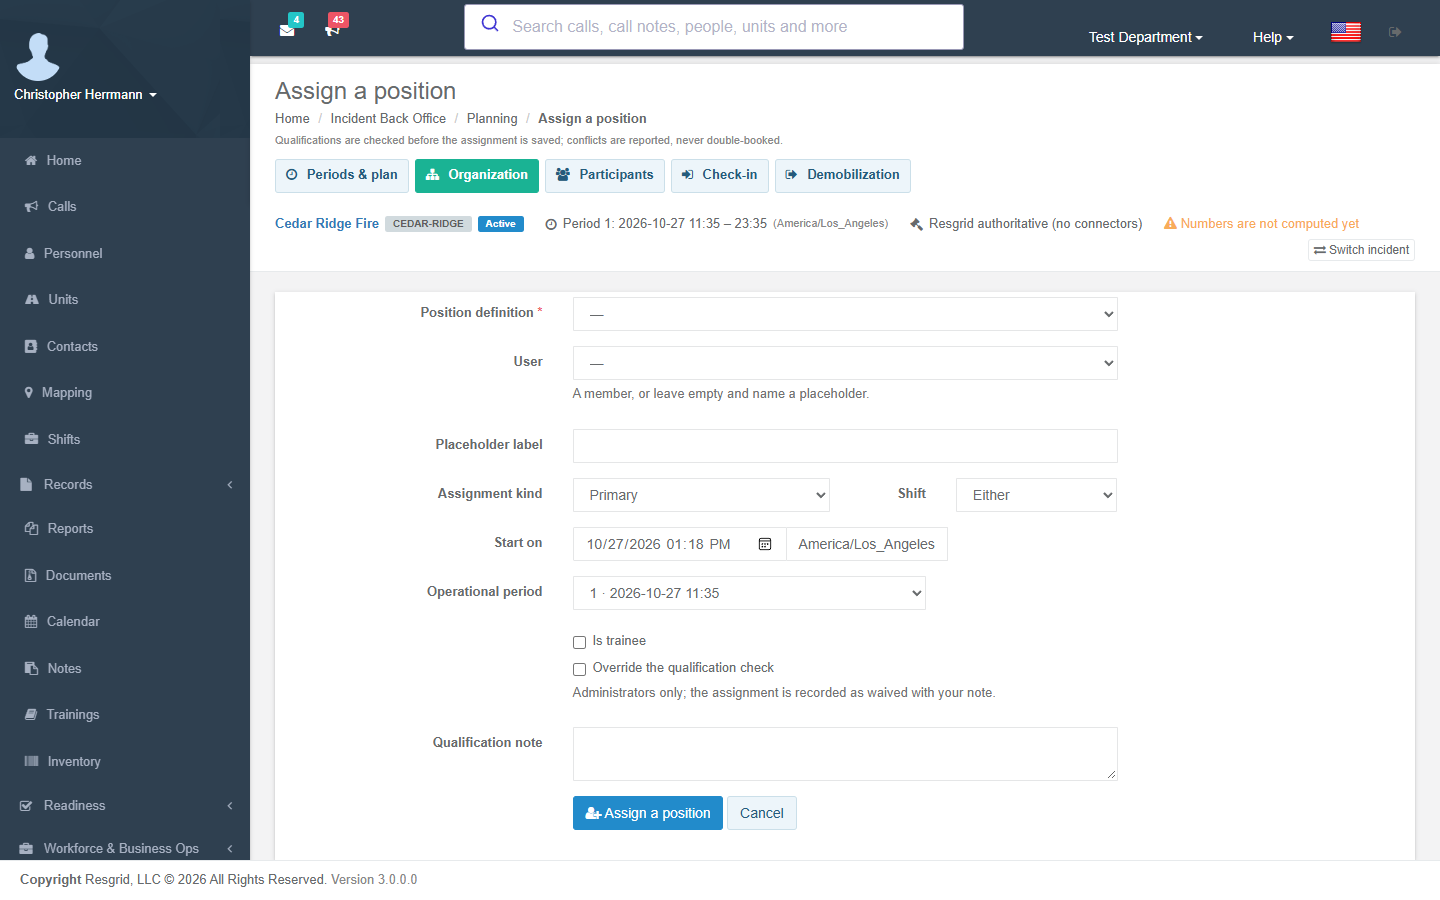
4. Enroll and check people in
Planning → Participants holds everyone supported by the incident, including mutual-aid personnel and contractors who have no Resgrid account. Use the Enrollment queue to add the people and units already dispatched to the linked call, or Roster import for a CSV. Then check arrivals in on Planning → Check-in by the code on their badge or confirmation, or from the list of people expected.
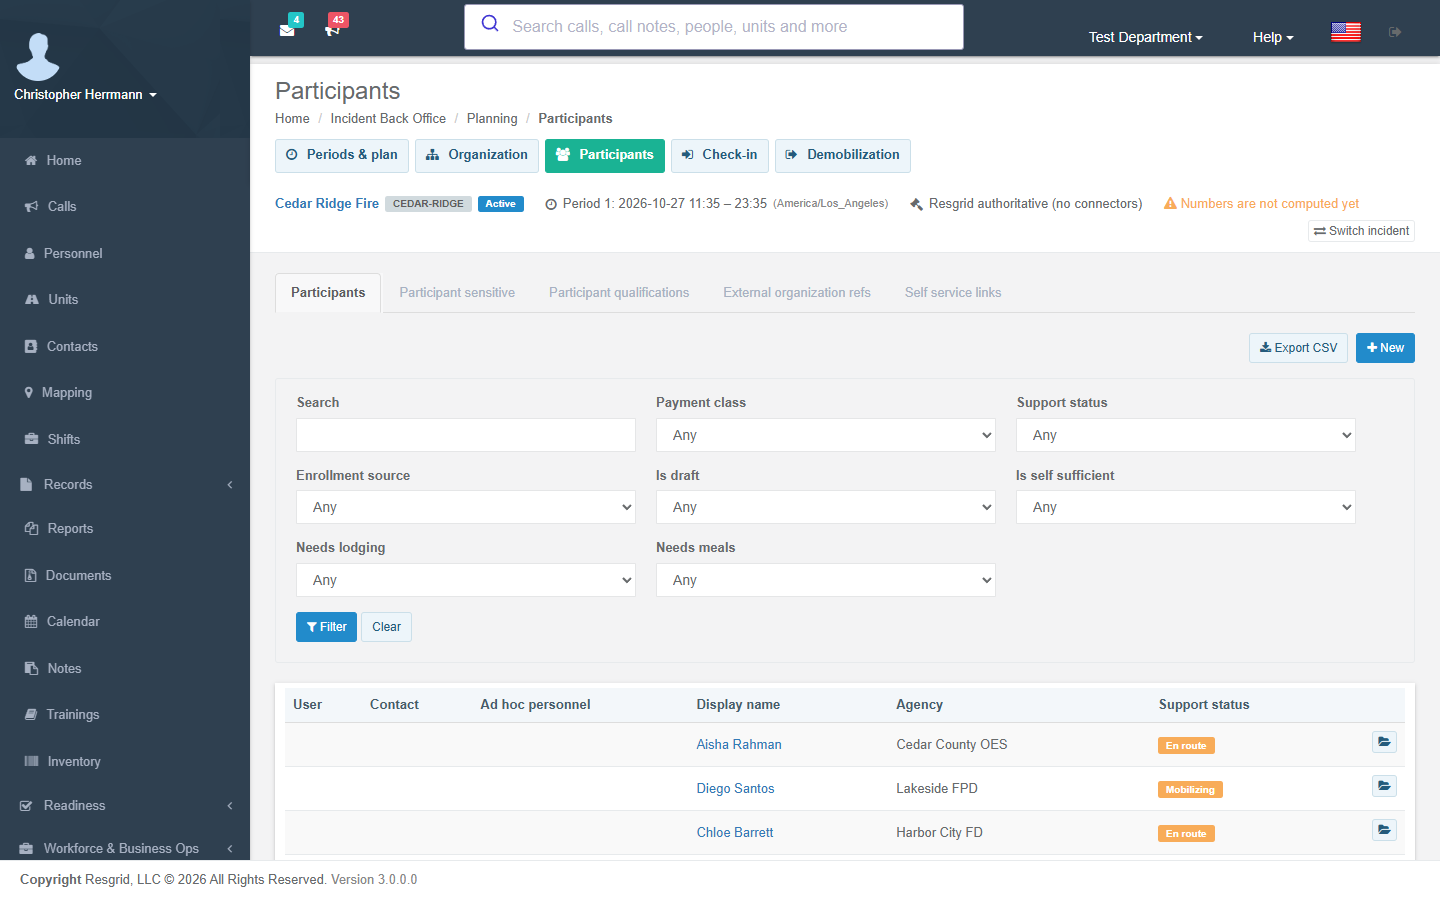
5. Watch the desks
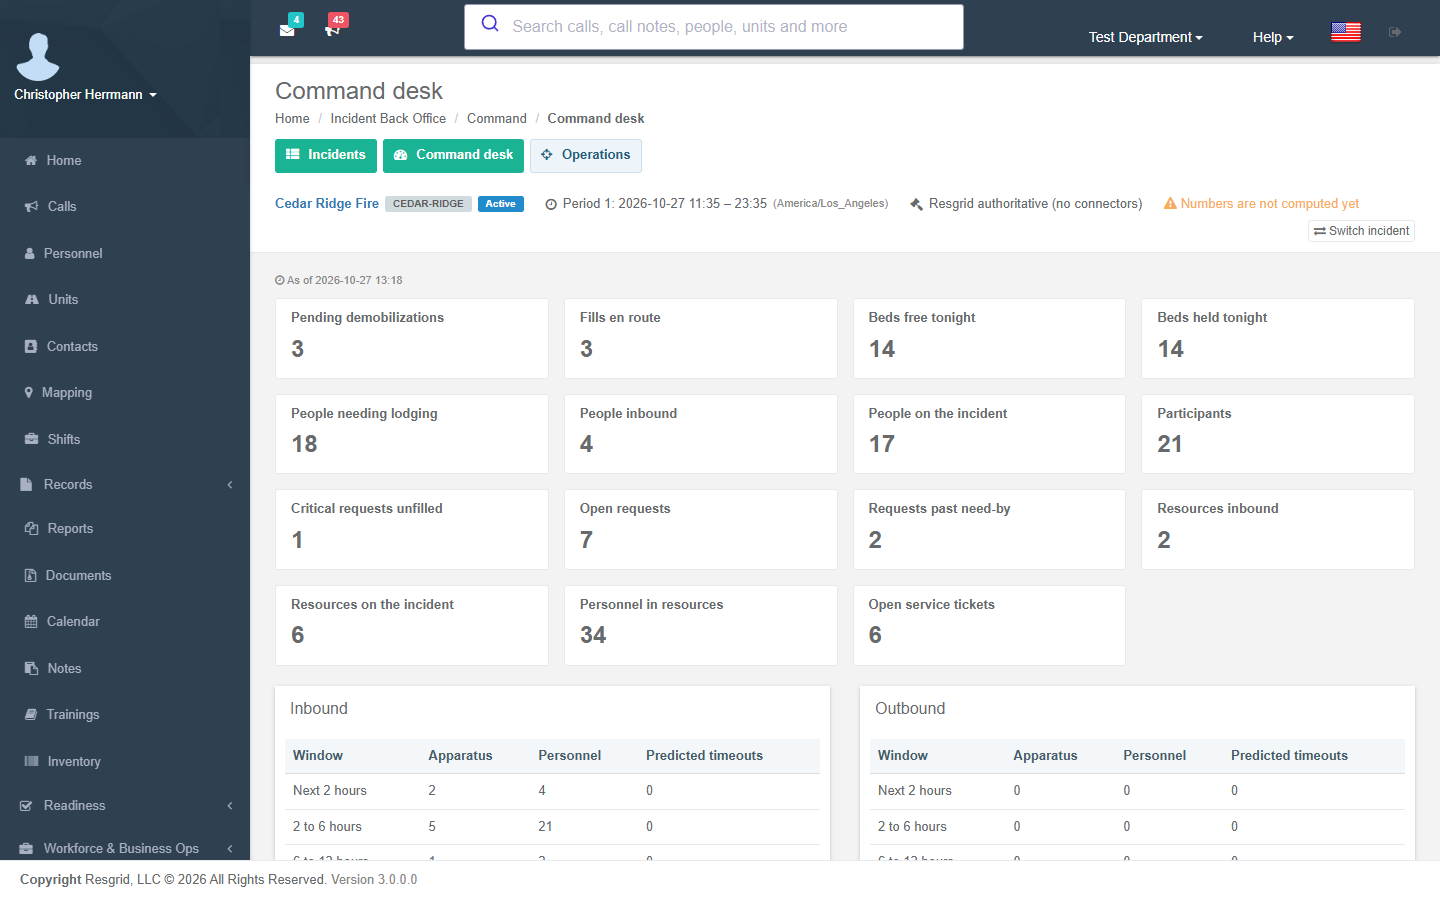
The Command desk now shows the incident's numbers: people and resources on the incident and inbound, requests, fills en route, beds tonight, service tickets and demobilizations, with arrivals and departures by window. Each section has its own desk:
- Logistics: requests and fills, facilities, lodging, feeding and water, services, ground support, communications and vendors.
- Finance: procurement, budget, time, cost, recovery, intake, claims and closeout.
- Coordination: boards, lifelines, open actions, decisions and situational features.
6. Close out
When the incident winds down, work the demobilization plans and the closeout checklist. Once every blocking closeout item is complete or waived, close the incident, and seal it when nothing should change any more.
Tips
- Every list exports to CSV with Export CSV; protected columns are left out.
- Workflows can react to forty-nine Incident Back Office triggers. See Automations.
- Exercises are labelled on every page, notice and workflow event, and do not notify outside participants or vendors unless your settings allow it.
- Desk numbers are computed from the incident's own records. When the background snapshot falls behind, the context bar says so; see Freshness.